How to Make a Poison Potion in Minecraft
The Poison Potion in Minecraft is a game-changer for strategic combat. Whether weakening mobs or gaining an edge in PvP, this potion gradually drains health, leaving targets vulnerable. In this guide, you’ll learn how to make a Poison Potion in Minecraft, its uses, and expert tips to maximize its potential.
Highlights
- Crafting Guide: Step-by-step instructions for brewing Poison Potions.
- Variants: Splash and Lingering Poison Potions for versatile combat.
- Tips: Efficient strategies for PvE and PvP scenarios.
What is a Poison Potion in Minecraft?
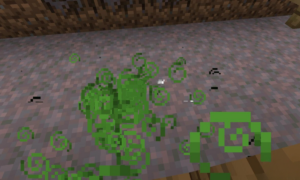
A Poison Potion in Minecraft is a consumable item designed to inflict poison damage over time on whoever consumes it or is struck by its throwable variants. This potion gradually reduces health to as low as one health point (half a heart), making it a strategic tool for weakening enemies in combat. While it doesn’t kill outright, its effects leave targets vulnerable and easier to defeat. Available in multiple forms, including Splash and Lingering Potions, the Poison Potion is versatile for PvE and PvP scenarios, offering players creative ways to outmaneuver opponents or manage mob spawns effectively.
Materials Needed for Brewing a Poison Potion
– Brewing Stand
- Purpose: The Brewing Stand is the core tool used to brew all types of potions.
- Crafting Recipe:
- 1 Blaze Rod (obtained from Blaze mobs in Nether Fortresses).
- 3 Cobblestones or Blackstone blocks.
- Usage: Place the Brewing Stand on a stable surface and fuel it with Blaze Powder.
– Blaze Powder
- Purpose: Acts as the fuel for the Brewing Stand.
- Obtained From: Crafted from Blaze Rods dropped by Blazes in Nether Fortresses.
- Tip: Always carry extra Blaze Powder when brewing multiple potions.
– Water Bottles
- Purpose: Serves as the base liquid for all potions.
- Crafting Recipe: 3 Glass Blocks to craft 3 Glass Bottles.
- How to Fill: Fill the Glass Bottles by right-clicking on a water source block or cauldron.
- Slots in Brewing Stand: Place up to 3 Water Bottles in the bottom slots for batch brewing.
– Nether Wart
- Purpose: Converts Water Bottles into Awkward Potions, the base for advanced potions.
- Obtained From: Found in Nether Fortresses growing on Soul Sand.
- Tip: Create a Nether Wart farm on Soul Sand to ensure a consistent supply.
– Spider Eye
- Purpose: The key ingredient for brewing Poison Potions.
- Obtained From: Dropped by Spiders, Cave Spiders, or Witches.
- Tip: Farm spiders in a mob spawner or explore caves and forests to collect Spider Eyes.
– Redstone Dust
- Purpose: Extends the potion’s duration.
- Obtained From: Mining Redstone Ore blocks, usually found deep underground (levels Y 1-16).
- Usage: Add to the potion to increase its effective duration.
– Glowstone Dust
- Purpose: Increases the potion’s intensity to Poison II (deals damage faster but for a shorter duration).
- Obtained From: Mining Glowstone blocks in the Nether.
- Usage: Add to the potion to amplify its effect.
– Gunpowder
- Purpose: Converts the potion into a throwable Splash Potion.
- Obtained From: Dropped by Creepers, Ghasts, or Witches.
- Usage: Add to the potion to target enemies from a distance.
– Dragon’s Breath
- Purpose: Converts the potion into a Lingering Potion, creating an area-effect cloud.
- Obtained From: Collected in Glass Bottles when the Ender Dragon breathes its fireball attack.
- Usage: Add to the potion to create lingering effects for crowd control or traps.
Brewing Guide: Step-by-Step Instructions for Poison Potion
Step 1: Set Up Your Brewing Stand
- Place the Brewing Stand: Find a solid surface, such as a crafting area in your base, and place the Brewing Stand.
- Fuel the Brewing Stand: Open the Brewing Stand interface and add Blaze Powder to the leftmost slot. This will fuel the stand for multiple brewing cycles.
Step 2: Add Water Bottles
- Prepare Water Bottles:
- Craft Glass Bottles using 3 Glass Blocks.
- Fill the bottles by right-clicking on a water source or cauldron.
- Insert Water Bottles: Place up to 3 Water Bottles in the bottom slots of the Brewing Stand. This allows you to brew multiple potions simultaneously.
Step 3: Brew Awkward Potions
- Add Nether Wart:
- Place Nether Wart in the top slot of the Brewing Stand.
- This process will transform the Water Bottles into Awkward Potions, the base for most advanced potions.
- Wait for Completion: The progress bar on the Brewing Stand will indicate when the brewing is complete.
Step 4: Brew the Poison Potion
- Add Spider Eye:
- Place a Spider Eye in the top slot of the Brewing Stand.
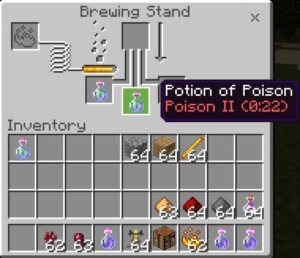
- This ingredient will convert the Awkward Potions into Potions of Poison (Poison I).
- Monitor Brewing Progress: Wait for the brewing process to complete. The progress bar will indicate when the Potions of Poison are ready.
Step 5: Enhance the Potion (Optional)
Option A: Extend Duration
- Add Redstone Dust to extend the potion’s duration.
- For example: Poison I can be extended from 45 seconds to a longer time frame.
Option B: Increase Intensity
- Add Glowstone Dust to amplify the potion’s effect to Poison II.
- Poison II deals damage faster but has a shorter duration.
Step 6: Create Splash or Lingering Potions (Optional)
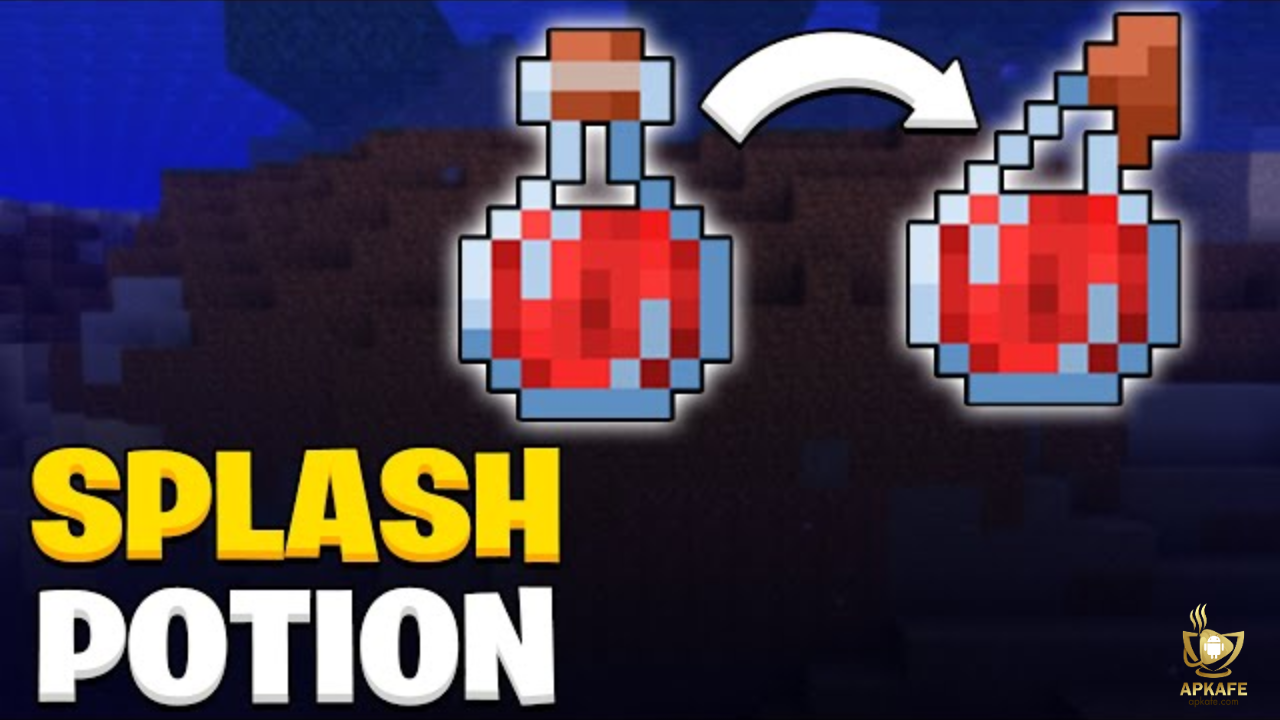
Option A: Create a Splash Potion
- Add Gunpowder to the Poison Potion.
- This converts it into a throwable Splash Potion, perfect for targeting enemies or mobs at a distance.
Option B: Create a Lingering Potion
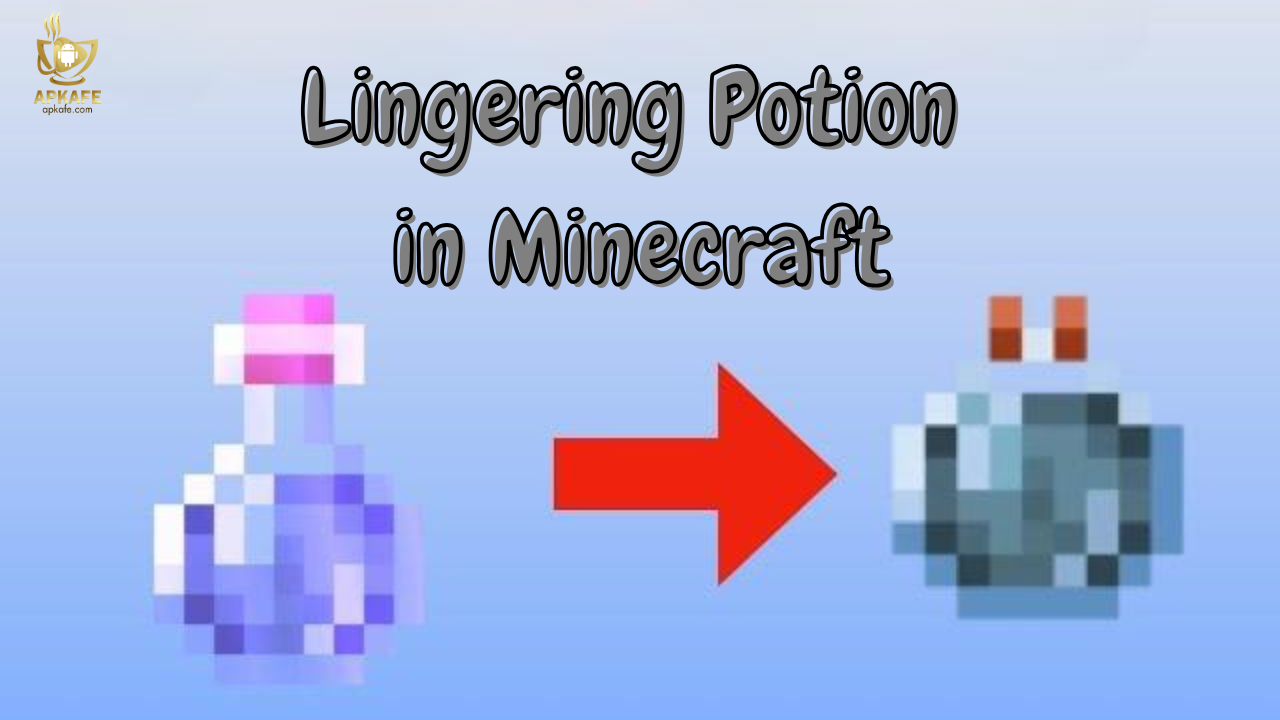
- Add Dragon’s Breath to a Splash Potion of Poison.
- This creates a Lingering Potion, leaving a poison cloud on the ground for area-of-effect damage.
Step 7: Collect and Store the Potions
- Once brewing is complete, remove the potions from the bottom slots of the Brewing Stand.
- Store them in a safe location, such as a chest, for easy access during combat or exploration.
Tips for Using Poison Potions in Minecraft
– Combine with Damage Potions for Maximum Impact
- Use Poison Potions to weaken enemies, then follow up with Harming Potions or direct attacks to finish them off quickly.
- This combination is particularly effective in both PvE and PvP scenarios.
– Carry Splash Potions for Quick Deployment
- Splash Potions of Poison are ideal for targeting groups of mobs or players.
- Keep a few in your hotbar for easy access during battles.
– Use Lingering Potions to Control Areas
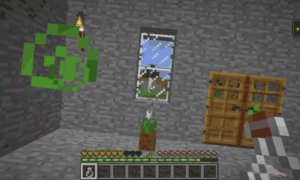
- Create poison clouds with Lingering Potions to block choke points or control key areas in custom maps or PvP.
- Effective for crowd control and creating defensive zones.
– Be Mindful of Friendly Fire
- Avoid poisoning yourself or your allies when using Splash or Lingering Potions.
- Use them strategically in open spaces to minimize accidental damage.
– Pair with Poison-Tipped Arrows
- Craft Poison Arrows using Poison Potions and arrows to add poison effects to ranged attacks.
- Perfect for long-range combat or when dealing with tough mobs.
– Plan for PvP Battles
- In multiplayer, use Poison Potions to disrupt opponents’ strategies and reduce their health over time.
- Throw Splash Potions before engaging in close combat for a significant advantage.
Conclusion
The Poison Potion is a strategic tool in Minecraft that empowers players to weaken their foes and gain a tactical edge in both PvE and PvP scenarios. Its ability to reduce health without killing outright makes it invaluable for setting up critical strikes or managing mob encounters. With simple brewing steps and versatile variants like Splash and Lingering Potions, the Poison Potion is an essential addition to any adventurer’s arsenal.
Ready to dominate your Minecraft world? Start brewing your Poison Potions today and turn every challenge into an opportunity! Visit APKAFE for more expert guides, tips, and tricks to elevate your Minecraft gameplay. Brew smart, fight strategically, and conquer with confidence!
User Reviews

