Mastering the Observer in Minecraft: A Comprehensive Guide
Step into the world of advanced Redstone mechanisms in Minecraft with the Observer block. This guide will walk you through everything you need to know about using Observers, from crafting them to integrating them into your ingenious builds. Whether you're looking to create automated farms, intricate traps, or dynamic bridges, mastering the Observer can significantly enhance your constructions. Let's dive into how to maximize this versatile block's potential in your Minecraft adventures.
Step into the world of advanced Redstone mechanisms in Minecraft with the Observer block. This guide will walk you through everything you need to know about using Observers, from crafting them to integrating them into your ingenious builds. Whether you’re looking to create automated farms, intricate traps, or dynamic bridges, mastering the Observer can significantly enhance your constructions. Let’s dive into how to maximize this versatile block’s potential in your Minecraft adventures.

What is an Observer in Minecraft?
The Observer in Minecraft is a versatile block that detects and responds to block state changes, emitting a Redstone signal when a change is detected. Essential for Redstone enthusiasts, it enables the creation of complex automated systems like farms, lighting, and security mechanisms. To craft an Observer, players need cobblestone, Redstone, and Nether quartz. This block enhances gameplay by allowing for intricate and resource-efficient designs, making it a valuable tool for any player looking to explore advanced building and automation in Minecraft.
Crafting the Observer
Materials Needed:
- 6 Cobblestones: Commonly found just below the soil layer, cobblestone is a basic building material in Minecraft.
- 2 Redstone Dust: Obtained from mining Redstone ore, which is found deep underground.
- 1 Nether Quartz: Gathered from mining Nether quartz ore in the Nether.
Steps to Craft an Observer:
- Open Your Crafting Table: Access your crafting table to use the 3×3 crafting grid.
- Arrange the Materials in the Grid:
- Place the 6 cobblestones in the top two rows of the grid, filling up the six slots.
- Put 1 Nether quartz in the middle slot of the middle row.
- Place 1 Redstone dust in each of the remaining slots to the left and right of the Nether quartz.
- Craft the Observer: Once the materials are correctly arranged, the Observer will appear. Now, you just click to collect it.
How to Use an Observer in Minecraft
Placement and Setup
Using an Observer effectively in Minecraft requires understanding its directionality and placement:
– Directionality: The Observer has a face and a rear; the face, marked by a small red dot, should be directed toward the block you want to monitor for changes. The back, where the single Redstone output is located, emits the signal.
– Placement: Place the Observer by right-clicking or using the placement button on your device. Ensure the face is towards the block that might change (e.g., a crop, a door, or a piston), and the rear points towards where you want the Redstone signal to go. The top of the Observer shows an arrow indicating the direction of the signal flow, which is helpful in setting up more complex Redstone circuits.
Practical Applications
Observers are highly versatile and can be used in a variety of Redstone mechanisms:
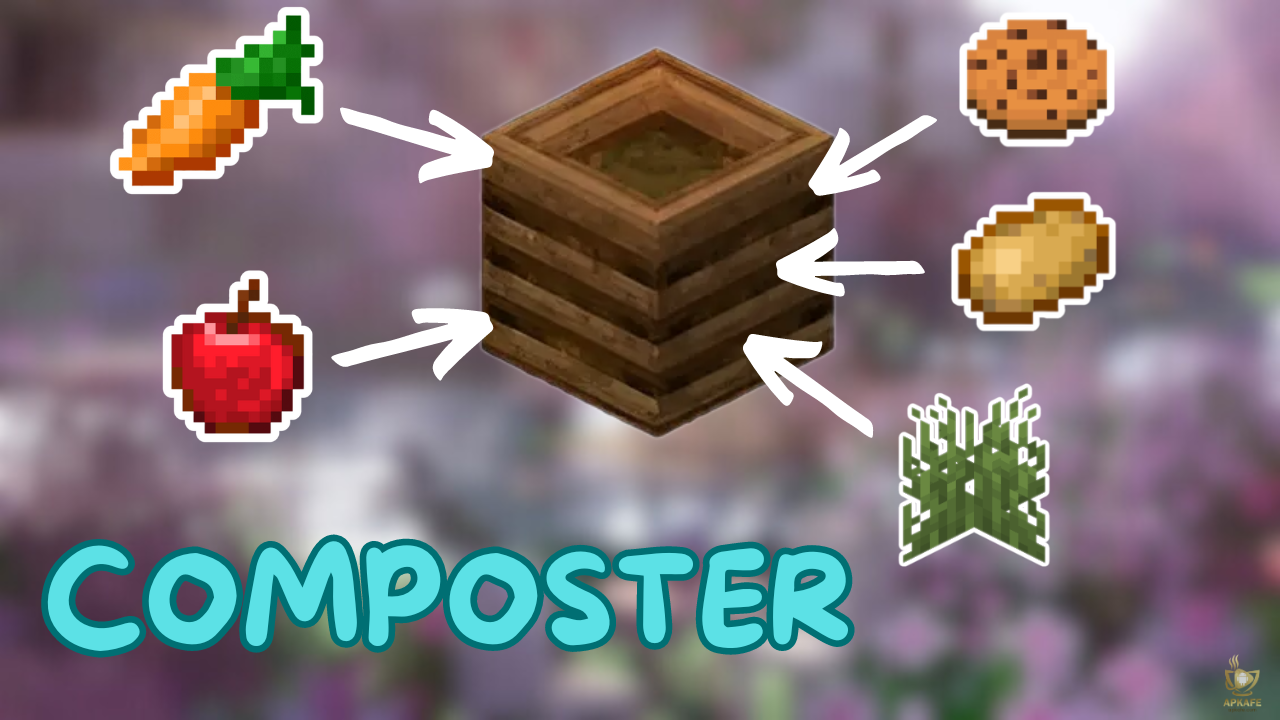
– Automated Farms: Observers can detect when crops like wheat, carrots, or potatoes are ready to be harvested. Place Observers next to a row of crops and connect them to pistons that clear the crops once they’re fully grown.
– Security Systems: Use Observers to create alarm systems by placing them near doors or in hallways where unauthorized access might occur. Any block change (like door opening/closing) triggers an alarm.
– Redstone Contraptions: Observers are ideal for creating pulsing Redstone signals or clocks due to their quick response time. They can also be used to synchronize multiple actions in a large mechanism.
– Decorative Uses: Pair Observers with Redstone lamps to create light displays that respond to environmental changes, such as daylight sensors triggering lighting at night.
– Item Sorters: In combination with hoppers and comparators, Observers can detect when items pass through and sort them into correct bins based on timing and type.
Tips for Maximizing Observer Efficiency
– Minimize Redstone Dust: Use direct block inputs from Observers whenever possible. Instead of extending a Redstone dust line from the Observer’s output, place the block you want to activate directly next to the Observer. This setup reduces delay and decreases the chance of interference from other Redstone circuits.
– Avoid Redundant Updates: Observers detect all block updates in front of them, which can sometimes lead to unnecessary activations. To prevent this, isolate your Observers from accidental updates by keeping unrelated dynamic blocks (like doors, pistons, or Redstone components) out of their detection range.
– Optimize for Specific Tasks: Tailor each Observer’s placement and orientation based on its specific role in your circuit. For example, if using an Observer to monitor crop growth, position it so that it can watch multiple crops at once without being triggered by unrelated updates like adjacent water blocks or player activity.
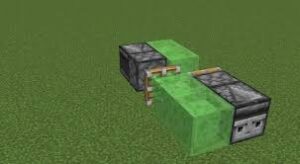
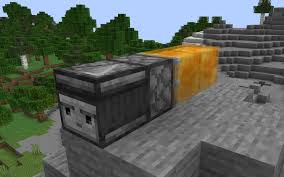
– Combine with Other Redstone Components: Enhance the functionality of Observers by integrating them with other Redstone components like pistons, hoppers, or dispensers. For instance, Observers can trigger a piston to push blocks or activate a dispenser to shoot arrows, creating more dynamic and complex mechanisms.
– Utilize Pulse Extenders: Observers emit very short Redstone pulses. If a longer pulse is required for your application, consider using a pulse extender circuit to lengthen the output signal from an Observer. This can be crucial for certain applications like opening iron doors or extending piston actions.
– Effective Use in Clock Circuits: Observers can be arranged to create fast and compact clock circuits by facing two Observers into each other so that each one’s output triggers the other. This setup can be used for rapid item dispensers or to create blinking light patterns.
– Testing and Debugging: Always test your Observer-based circuits in a controlled environment before implementing them in important builds. Observers can sometimes behave unpredictably, especially in complex setups with many moving parts, so debugging in a test setup can save you time and resources.
FAQs:
Q1: How do you place an Observer in Minecraft?
A1: To place an Observer, you need to target the block where you want the Observer’s back to attach. The face with the red dot is the output side, and the face that looks like a face is the detection side. Make sure the detection side is facing the area you want to monitor.
Q2: Can an Observer detect daylight changes?
A2: Yes, Observers can detect changes in daylight by pointing them towards a daylight sensor. This setup is often used to create automated lighting systems that turn on at night and off during the day.
Q3: How far does the Redstone signal from an Observer travel?
A3: The Redstone signal from an Observer travels up to 15 blocks away unless boosted with a Redstone repeater.
Q4: How do you stop an Observer from sending continuous signals?
A4: To prevent an Observer from sending continuous signals, ensure that the block it is observing does not have constant state changes. Alternatively, integrate a toggle system with a Redstone circuit to control when the Observer should be active.
Conclusion:
The Observer in Minecraft is a potent tool for any player looking to dive deeper into Redstone engineering. With its ability to detect changes and react dynamically, the Observer opens up a realm of possibilities for creativity and automation. By following this guide, you’re now equipped to craft, setup, and utilize Observers to enhance your gameplay and bring your Minecraft projects to life.
Ready to put your new knowledge to the test? Start building with Observers today and transform the way you interact with the world of Minecraft! Explore, create, and innovate—your next amazing project begins now.
User Reviews