Tips Shareit
COMBINATION OF TIPS FOR USING SHAREIT
Shareit is a sharing application with many smart features. If you are new to and do not fully understand these features, please refer to the tips below.
As a sharing application, Shareit has some difficulties when using it. Please refer to the useful Shareit tips we share below. It’s sure that after you download Shareit apk and use, everything will be much easier.
Good tips using Shareit for newbies
1. Tips for effective management of shared files with Shareit
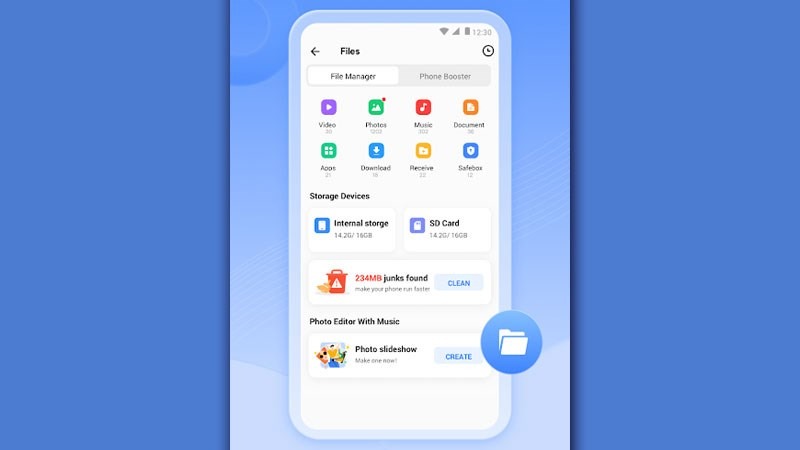
When using Shareit for a while, you may have difficulty managing sent and received data. Shareit gives you the option to view files, rename files, move files to other folders, and delete files. To effectively manage shared files by Shareit, you can do the following:
Step 1: Launch Shareit on the device.
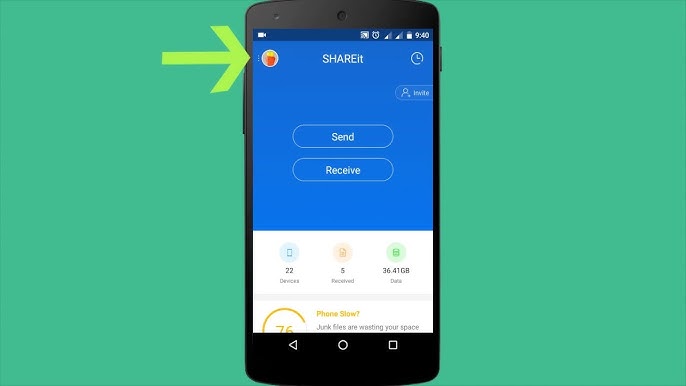
Step 2: At the main interface of the screen, select the time icon on the left corner of the screen.
Step 3: Select the History tab
Step 4: After accessing the History tab, you will have options, including:
• Open: If you want to open the file to view.
• Check the file: select any file you have received to view detailed information about the file. The file size will display immediately. To delete the file from your device, select Delete file, or to delete the file from the shared history, select Delete History

After completing the above steps, you can easily view the file or delete the unnecessary files from the shared history list.
1. Tip for changing the name and avatar for Shareit account
After Download Shareit for Android, you will be required to add to your Profile account name and avatar. But after a period of use, you want to change it but do not know how, so join us in this article!
Step 1: At the main interface of Shareit, click to select your old avatar to access your profile.
Step 2: Continue to click on your old avatar to proceed with the editing process.
Step 3: Please enter the new account name and then press the “V” to complete adding a new Shareit account name.
To change your avatar on a Shareit account, follow these steps:
Step 1: The screen will display the default ICON. If you do not want to select one of the ICON as an avatar, you can choose Camera to take a photo directly or upload photos from the Photo Album on your device. Here we choose the photo album available on the device.
Step 2: After accessing the existing photo album, click the image you want to be the new avatar.
Step 3: You can align images, crop them, or select full photos as you wish. After aligning the image, choose Save to save the picture as a new avatar.
Thus, the process of changing the profile name and avatar displayed on your Shareit account has been completed. Here is the new profile you just created.
With just a few simple steps, you can easily change the profile for your Shareit account. Changing your avatar and name is the best way for your friends to quickly find you in the process of sending and receiving files.
2. The easiest way to invite friends to use Shareit
To be able to expand the connection and easily send/receive files with friends, colleagues, and people around, you should invite them to install and use Shareit. This is the best way for you to quickly share wirelessly with all other devices. Shareit supports you to invite your friends to download and install for free via Email, Facebook, Bluetooth, and messages. Below we will show you the easiest steps to invite friends to use Shareit.
How to use Facebook to invite friends to use Shareit
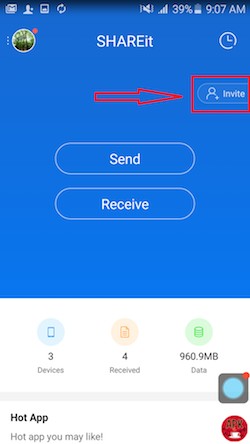
Step 1: In the main interface of the application, select Invite.
In the main interface of the application, select Invite.
Step 2: On the screen, there are two ways to invite friends, which are via Hotspot and Bluetooth. You click to select Bluetooth. Make sure you and your friend turn on Bluetooth on the device.
Step 3: Select the device that you want to share Bluetooth.
How to invite your friends to install Shareit when using Facebook
Step 1: On the screen, there are 2 ways to invite friends, which are via Hotspot and Bluetooth. But you will skip and scroll to the bottom of the screen to select More.
Step 2: Here, you have 2 options to invite your friends to use Shareit with your Facebook or Gmail account. Click on Facebook.
Step 3: If you only have 1 Facebook account, select the default Facebook account. But if you have more than one, click the Facebook account you want to use to share the Shareit application with your friends.
Step 5: You can add a message about Shareit to persuade your friends to install it. After entering the content, click Post.
Step 6: After clicking Post, a notification from Facebook will be sent to you to confirm that your post has been successfully posted.
How to use Email to invite friends to use Shareit
If you want to invite your friends to install Shareit by Email, you should have an email account and sync available on your device. Then, follow these instructions:
Step 1: You choose to Invite.
Step 2: Click More to add a method to invite friends.
Step 3: There are 2 options: Facebook and Gmail, you choose Gmail
Step 4: Please enter the Email address of the person you want to share with. You can also send multiple email addresses at the same time if desired. Finally, click Send.
The above are some excellent tips when using Shareit that you need to know to not only transfer and receive files but also manage shared files easily. Especially to invite friends to use Shareit. Hope this article is helpful for you during using Shareit!
User Reviews